2024 January 18 Vista Painters painting contractors corner window trim dry rot example

Dry rot – What is it and what to do about it?

What is dry rot, exactly? Your wood home is probably one of your greatest investments, so you want to keep it safe. That’s why it’s so important to spot problems, especially ones unique to your home’s structure, before they turn into costly damage. Dry rot affects wood and can rot floor and ceiling beams and lead to several structural problems, including deteriorated support posts and beams.

Find out if dry rot has affected your home, how to prevent it, and what to do if you discover it.

Highlights:

  • Dry rot is a form of decay where fungi attack wood and destroy cellulose, leaving wood weak and brittle.
  • Dry rot needs a moist environment and temps between 71 and 77 degrees.
  • Regular inspection is key to preventing dry rot.
  • Spotting dry rot early can help in saving your home.

What Is Dry Rot?

Dry rot (aka brown rot) is wood decay caused by microscopic fungi that feed on wood and consume the cell walls, which give timber its strength. Dry rot leaves dry and brittle wood in its wake and can ruin any wooden structures inside or outside your home. 

Unfortunately, most people cannot identify the signs of dry rot infestation themselves. But if you don’t identify and treat dry rot immediately, it may be necessary to replace all affected timber.

What Causes Wood Rot?

Despite the name, dry rot needs moisture to start. However, it can spread without any source of moisture because it can generate moisture through the digestion of timber. 

Wood rot can happen because the wood wasn’t properly dried before being used or when the wood sits in excess humidity and warm temperatures between 71 to 77 degrees Fahrenheit.

This organism targets cellulose in the wood’s structure and destroys it. The wood later shrinks and turns deep brown. Once rot starts growing, it spreads rapidly. 

Dry rot can travel through various materials, including masonry, and spread throughout a property. If not stopped, dry rot will weaken the whole building to the point of decay.

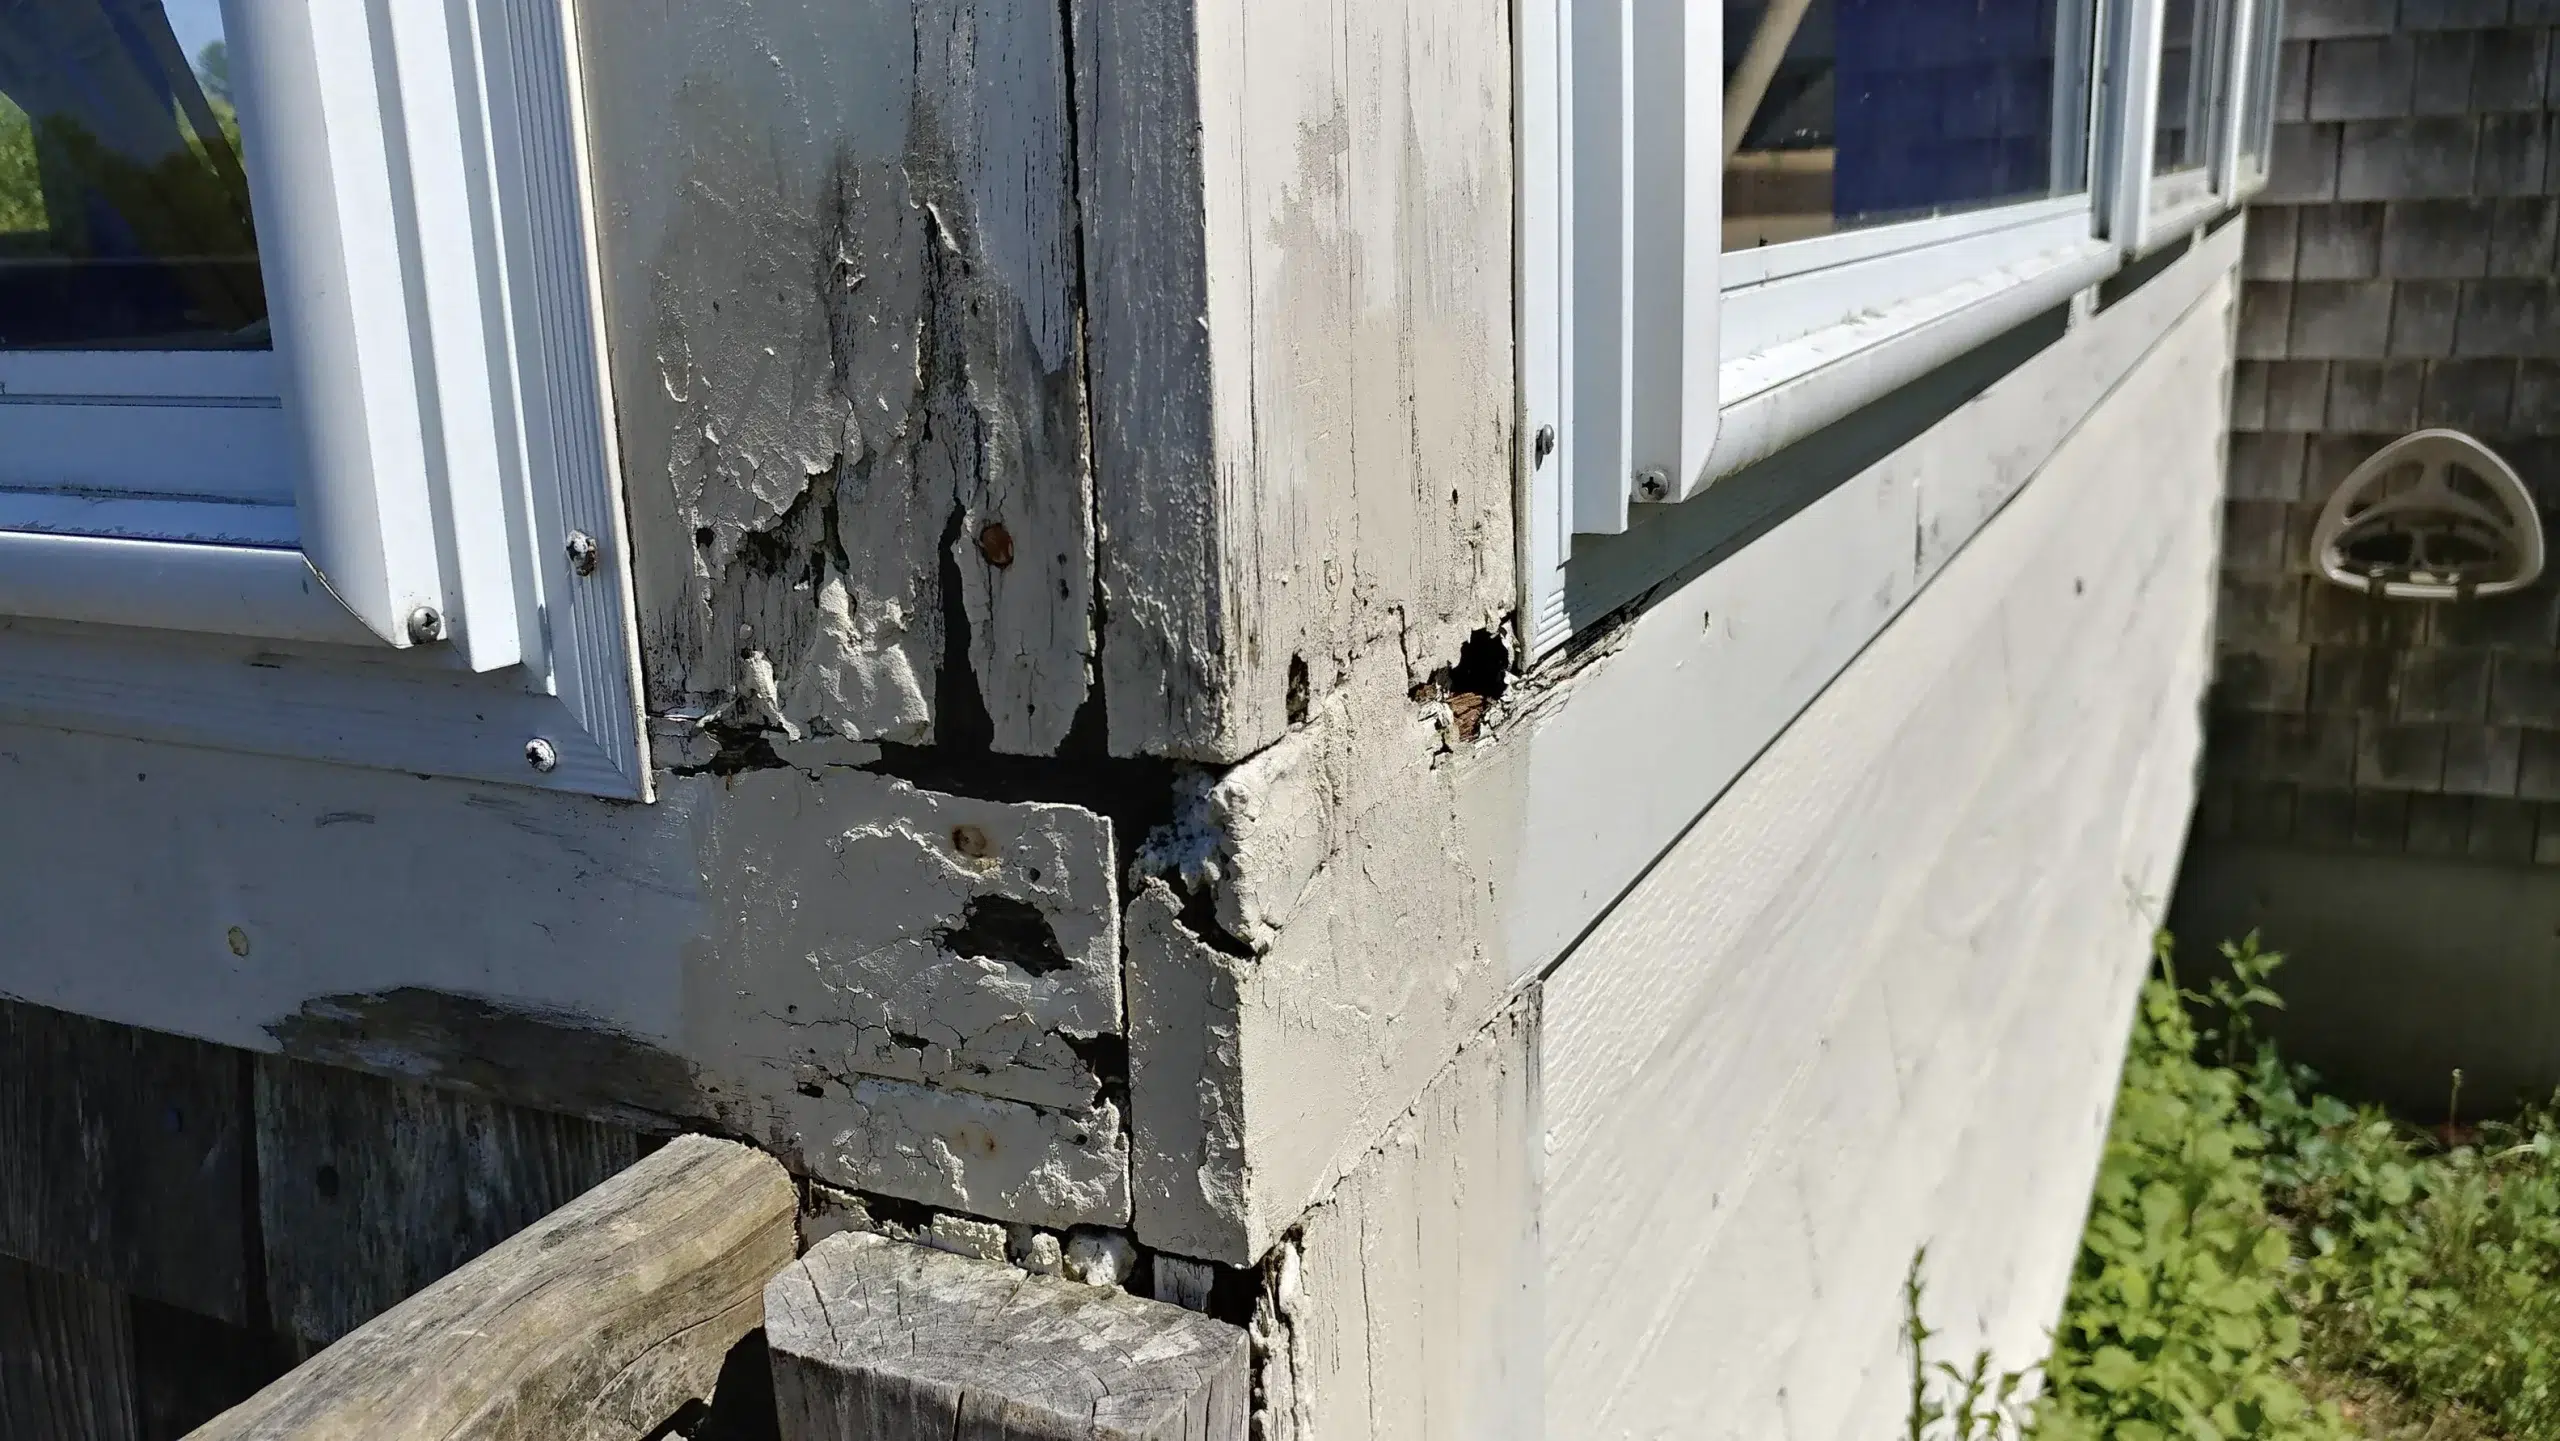
What Does Dry Rot Wood Look Like?

It can be hard to identify dry rot, especially in the early stages. Wood rot is often hidden beneath flooring or behind drywall or siding, but if you take a closer look, some signs can start to become visible later in the cycle.

Areas prone to dry rot

Look at the areas of your home where there are humidity or water sources.

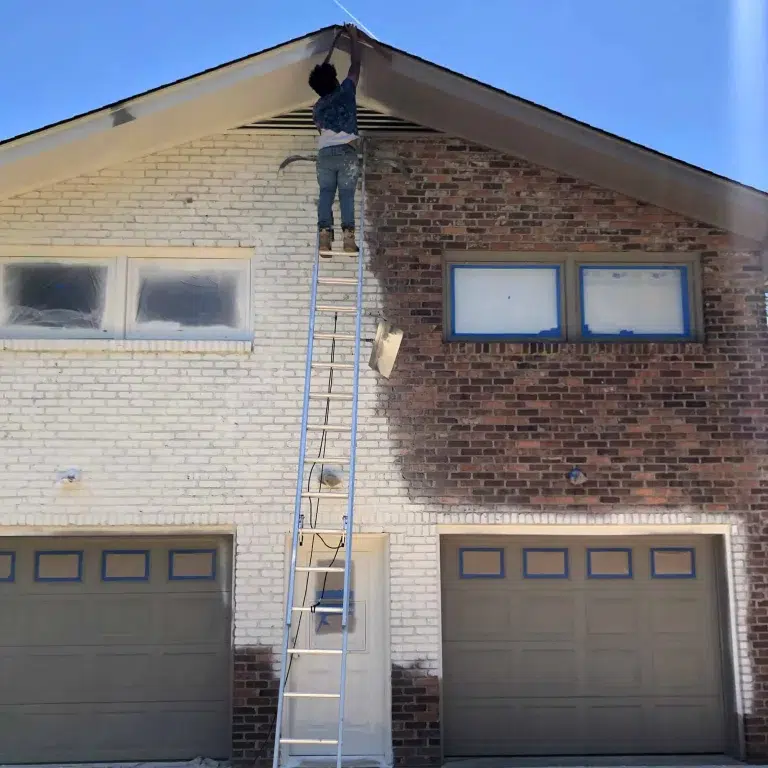
  • Around gutters or downspouts
  • Where water runs off the roof along the wall
  • On wooden door frames and window sills
  • Near any connections between vertical and horizontal surfaces (i.e., corners)
  • On areas with water leaks, such as the roof
  • On structural points where wood meets the ground
  • By leaky pipes, unventilated attic space, and damp basements or crawl spaces 
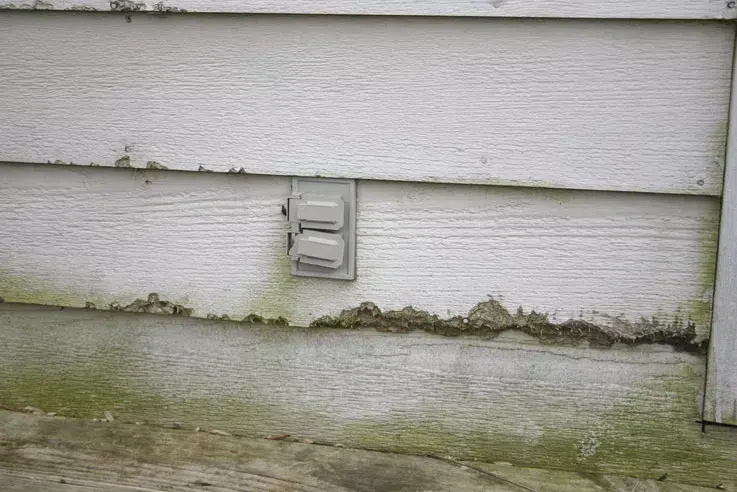
Signs of dry rot

Several signs indicate the presence of wood rot. If you see any of these signs, you probably have wood rot.

  • Visible fungal growth that looks like a fluffy white cobweb
  • Strained drywall
  • Water droplets on the surface of the wood
  • Brown dark timber
  • Brittle or weak wood
  • A musty or damp smell
  • Patches of light purple, orange, or brown that peels easily
  • Grayish strands on the wood or timber
  • Fruiting mushroom bodies among the spores

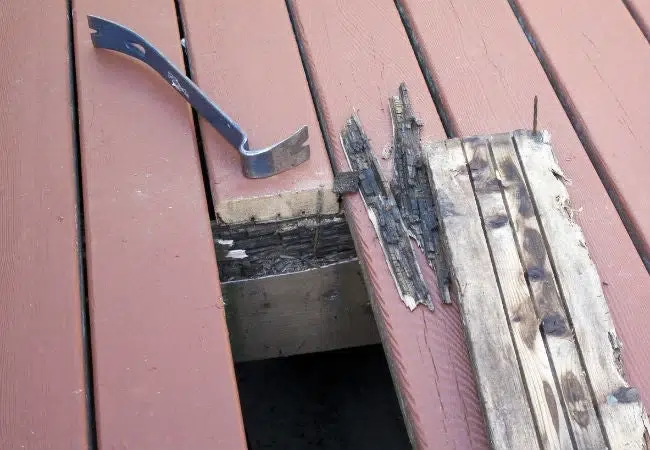
Test the area by poking it with a screwdriver. If it penetrates the wood or makes the wood flakes easily, there is likely rot. Contact a local home inspector so they can look into this further and check your home for signs of wood rot.

Get An Estimate To Paint Your Home

Ready To Make A Change?

Schedule a virtual estimate with the painters near you and get your personalized estimate today!

How Dangerous Is Dry Rot for Your Home and Family?

While dry rot spores are not harmful themselves, a house with dry rot isn’t a pleasant place to live in, especially with the smell of damp soil filling the air. The damp conditions pose a health hazard for infants, older people, and those with respiratory diseases.

Beyond this, dry rot is very dangerous to your home itself, as it can quickly cause extensive structural damage. 

What Happens If You Don’t Treat Dry Rot?

Dry rot, driven by the fungus Serpula lacrymans, has the power to wreak havoc on your home. Left untreated, it can cause damage to your entire property, as it spreads quickly to any moist wood, and even porous masonry. Once present on the wood, it will deteriorate it, impacting the structural integrity of your house. 

In addition, the moisture in your home that allows the dry rot to thrive can cause respiratory problems (especially for those with asthma). A small number of people may find themselves allergic to the fungus that causes dry rot.

The deterioration, and subsequent damage, is progressive and can snowball quickly, so the longer you wait to treat dry rot, the further it will spread and the worse the situation will be. When you have a toothache, it’s best to go to the dentist sooner rather than later to prevent a small problem from becoming a large one. The same rule applies to dry rot. 

Fixing Dry Rot Wood – Can I Treat or Repair?

Once you identify that wood rot has started, you have to stop it.

  • Find and eliminate the source of the problem.
  • A fungicide with borate is one of the most effective ways to kill fungus and prevent dry rot. However, this solution will only work if the dry rot is at the first stages. 
  • For more advanced cases, you will need to replace the affected wood with treated timber.

Because dry rot can move so quickly and cause such damage, you’ll want to get a pro involved right away. Consult a local carpenter to evaluate how to treat the dry rot properly.

How to Prevent Dry Rot in 13 Points

When it comes to dry rot, prevention is the key. It’s easier and more cost-effective to prevent decay rather than fix it. The key is to limit wood exposure to moisture in your home with these tips:

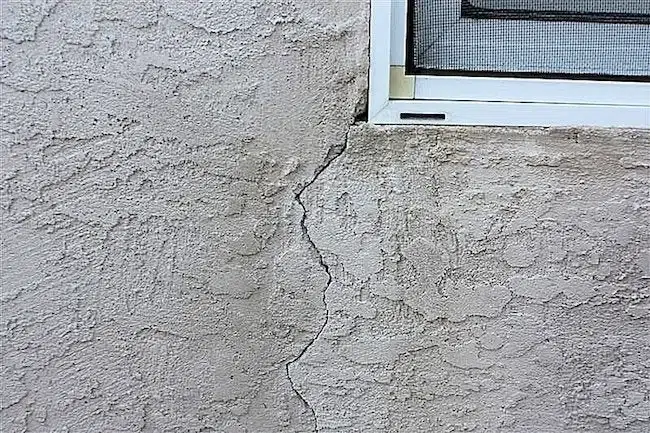
  1. Seal all cracks with caulk. Be sure to scrape away old hardened caulk and replace it with fresh caulk.
  2. Clean gutters regularly—at least twice a year—to prevent blockages that can lead to water running over the side of your home.
  3. Make sure to prime any outdoor wood on all sides before painting.
  4. Check for plumbing leaks and repair any problems ASAP.
  5. Add a canopy over the entryway to keep the rain away from the doors.
  6. Use a good dehumidifier in the basement or any house room subject to high humidity.
  7. Make sure to ventilate bathrooms, attics, crawl spaces, and kitchens properly. 
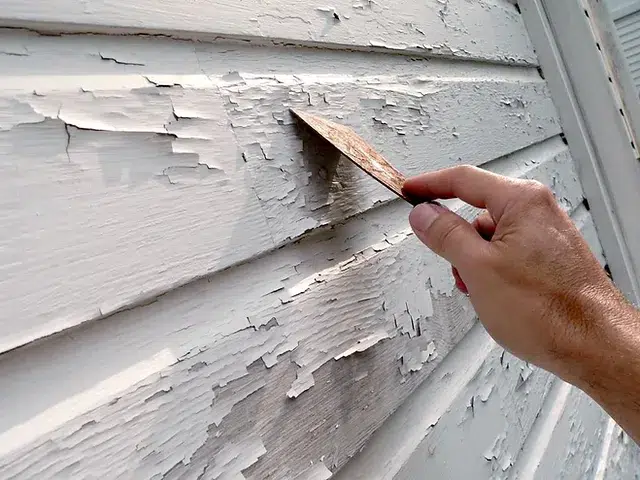
  8. Repaint exterior windows and siding if the paint is cracked or peeled.
  9. Sweep standing water from outdoor decking as soon as the rain stops.
  10. Check all flashing to ensure water can’t get inside your home.
  11. Have your house inspected annually to identify any cracks or potential damage.
  12. Always use decay-resistant or pressure-treated wood for exterior projects. 
  13. Be proactive and on top of any small issues on the roof and repair them ASAP.

Questions & Answers

When selling a house with dry rot, homeowners often face a difficult dilemma. On the one hand, the presence of dry rot can drastically reduce the price of your home and limit potential buyers’ ability to secure a mortgage on the property. Due to the nature of the damage, contractors can only accurately estimate damages associated with dry rot by doing some exploratory work first. It’s always best to work with an experienced contractor with deep knowledge of your home’s structural aspects and how it’s put together so they can communicate the damages accurately and recommend multiple courses of action.

Dry rot is caused by wood-consuming fungi that will slowly eat away at wooden structures. This issue is exacerbated in wet climates, like Portland and Seattle, due to increased moisture levels that allow fungi spores to travel faster and further than usual. These fungi can cause extensive structural damage to a house, leading to declining foundation strength and integrity. Potential buyers might shy away from purchasing a home affected by dry rot due to its significant financial implications. Still, they may also worry about the safety of their family should they decide to go forward with buying the property.

Homeowners who suspect dry rot should immediately contact a licensed dry rot remediation contractor to develop a remediation plan. Contractors must perform some exploratory work before accurately determining how much damage it has caused. An accurate estimation of dry rot-related costs can only be made by removing the siding around the suspected area and inspecting the wall cavity. A real estate home inspection will not suffice because the issue does not reside on the surface.

Unfortunately, homeowners need to be aware that removing siding or window trim is necessary for contractors to detect dry rot inside walls or other enclosed spaces where visual inspections are impossible or impractical. Depending on the scope of your project, this may add costs to the repair.

It’s also worth noting that most insurance policies don’t cover damage caused by dry rot. So even if proper repairs occur before selling a house, homeowners might still have to spend more money than initially planned due to the extremely high costs involved in carrying out such tasks—again reducing the eventual sale value even further. On the other hand, we receive many calls from homeowners informing us that their homeowner’s insurance company is making them complete dry rot repairs to maintain coverage.

Photo Documentation And A Written Scope Of Work

Comprehensively documenting dry rot repairs for insurance claims or future home buyers is essential in ensuring the home is safe and sound. Documentation should include photos of any repair made within the wall cavity or around windows and doors (flashing). This will help to provide a 3D visual inspection of the repair and ensure that it was done correctly and to industry standards. Additionally, the documentation should also include any paperwork associated with the repair. This could consist of invoices, bills, warranty information, etc. Any written documentation may include what type of materials were used in the repair, how long it took to complete, and who completed it.

Before And After Inspections And Photos

Lastly, having professional inspections done before and after completion can validate that the repair has been done correctly. Skilled inspectors can detect areas where additional work may be needed or if there are signs of further damage. Having this level of documentation demonstrates that all steps have been taken to limit liability for future homebuyers or sellers when making a real estate investment decision. If you plan on keeping the home, it will give you peace of mind that your home will be protected when the next storm or heat wave comes.

It’s crucial for any homeowner looking to sell a house affected by dry rot to understand why this issue can significantly reduce eventual sale pricing. Both directly through buyers’ reluctance towards investing in such properties and indirectly through contractors’ inability (without some form of exploratory work) to accurately estimate damages associated with dry rot before providing repair quotes. More than just relying on visual inspections alone is needed in cases like this, so make sure you hire an experienced professional skilled at dry rot remediation.

When it comes to repairing dry rot, the cost can vary greatly depending on a few factors. The extent of the damage, the affected location, and the professional you hire to do the job, to name a few.

For minor cases of dry rot, such as small patches on wood siding or window trim, it typically costs around $1,500-$2,800. This price can increase significantly if more extensive repairs are needed in structurally significant areas, such as framing, floor joists, and beams—which could range from $4,500 to $12,000. There is no way to accurately provide an estimate on a “sight-only” inspection of the exterior only. The work is exploratory, and most contractors do this work hourly.

When determining how much it will cost to repair dry rot in your home, it is essential to consider all the factors that could affect your total bill. First and foremost is determining the amount of damage that needs to be repaired—the more significant and widespread the issue, the higher your bill will be. Additionally, specific locations are more expensive to repair than others due to their structural importance and complexity. For example, replacing rotted floor joists or beams can be significantly pricier than replacing trim work along an exterior wall.

There Is No One-Size-Fits-All When Estimating Dry Rot Repair Costs

Another important factor determining dry rot repair costs is who you hire. Professionals with years of experience may charge more than inexperienced contractors. Still, they should also have better knowledge of the issue and use higher-quality materials when working on your home’s foundation or structure. Suppose you’re working with a contractor who needs to be more knowledgeable about dry rot repairs or uses lower-grade materials when repairing it. In that case, you could end up paying for costly problems down the line due to improper maintenance.

Ultimately there’s no one-size-fits-all answer regarding how much repairing dry rot will cost, and it’s next to impossible to estimate repairs accurately. It’s frustrating for homeowners because these repairs can only be evaluated accurately with some exploratory work ahead of time. The exploratory work is necessary for budgeting.

Most qualified dry rot repair contractors only do this type of work hourly. This eliminates the need for change order after change order due to inaccurate bidding up front. By researching and hiring an experienced contractor, you can get a fair price for high-quality work that will last for years!

Get An Estimate To Paint Your Home

Ready To Make A Change?

Schedule a virtual estimate with the painters near you and get your personalized estimate today!

Similar Posts